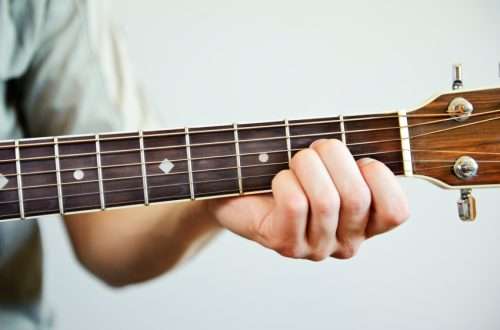
Left hand guitar. Tips for the right position of the left hand with photos
Contents

Left hand guitar. general information
A beginner who picks up a guitar for the first time usually does not suspect that there is some kind of special left hand on the guitar. If gross mistakes are not corrected in time, this will not only stall further performance development, but may also discourage the desire to play (as this will bring unpleasant sensations). Even playing simple songs requires knowing how to position your fingers to make it easier to play and pinch many chords (like barre).
The importance of proper left hand positioning

Five General Rules
Relax your hand
The hand should not be tense. And this is similar to the right one – follow not only the hand, forearm, but also the shoulder joint and the back of the back. Try to lower your arm along the body as “imposingly” as possible and remember these sensations. This is how the shoulder apparatus should behave, making an effort with the hand and fingers during the game.
Put your thumb in the correct position
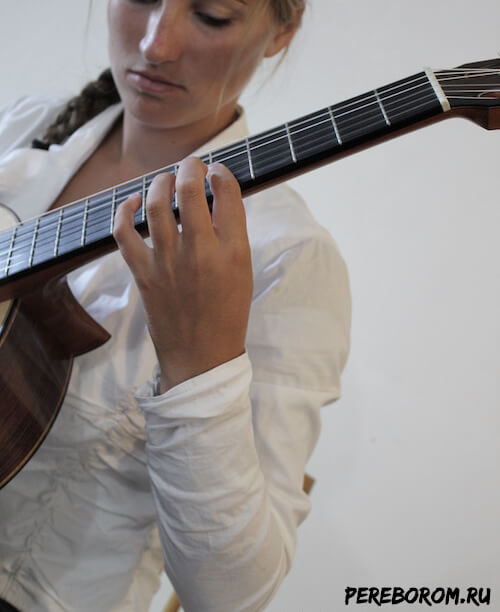
There is no single setting of the thumb. It will move while playing both chords and solos. However, it is worth knowing that the palm uses it as a support. It is usually located in the pad and joint of the first phalanx. The finger almost never wraps around the entire back of the neck. Let’s go about half way. Moreover, its position can be either parallel to the neck or slightly at an angle (depending on the song).
Find the optimal string clamping force
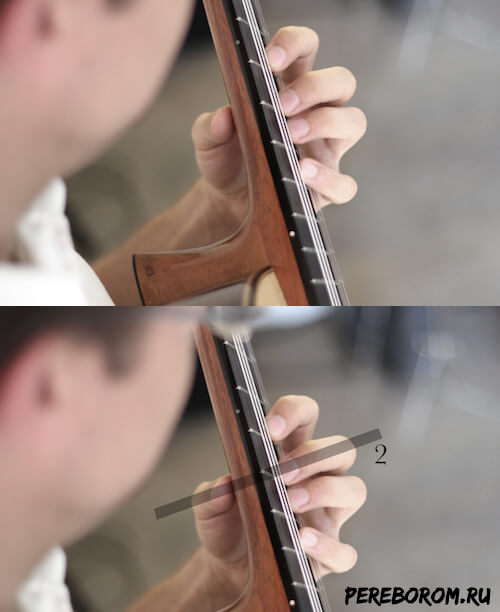
One of the problems can be both underpressure and too strong clamping. Under-pressure occurs at the initial stages, when the guitarist does not have enough strength in his fingers or he is afraid to pinch it. You should not overdo it either – if the string rattles, makes a weak sound, then perhaps the reason is not in strength, but in the wrong position (or in the guitar itself, but this is another topic). No matter how trite it may sound, but you need to find something in between, so that the sound is acceptable and the hand feels comfortable. It is often recommended to use expanders or other power devices. But the main guitar trainer – the instrument itself.
Keep your fingers close to the frets
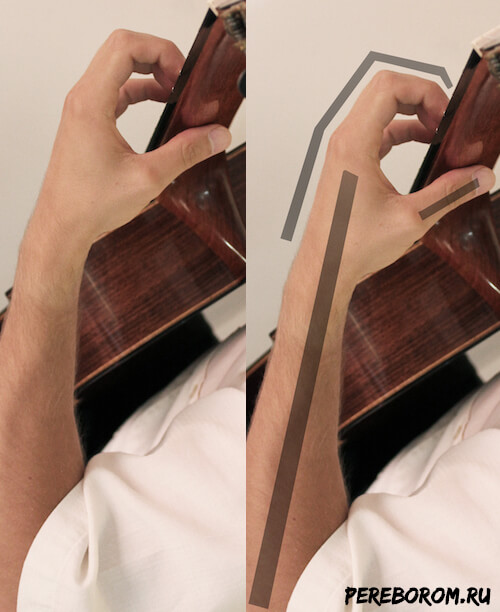
The closer you hold your finger to the fret bridge (between the frets), the clearer the sound will be. But you can’t go on these metal sills themselves – then the rattling will begin, a dull sound, underpressure. Check – perhaps one of the fingers in a clamped chord stubbornly climbs onto the fret partition and spoils the sound. If the fingers do not reach, move the palm itself a little to the right.
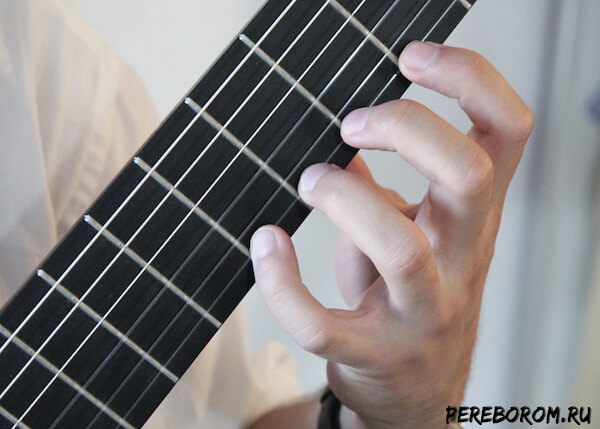
Make sure the position feels comfortable
Often during the execution of a complex element (for example, stretching fingers) the body of the guitarist involuntarily begins to “shrink”, hunch over, bend his arms – takes the most uncomfortable position. Therefore, when learning, take a break from the work itself and follow your feelings. Relax part of your arm or back if they are tense and choose a more comfortable position.
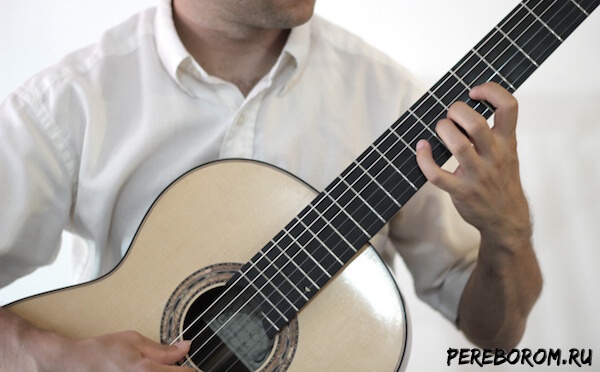
Types of guitar grip
Классический
In the classic game, the supporting thumb is opposite the middle one. Close them without the guitar, and then put the instrument in your palm and repeat the movement. The thumb does not stick out because of the neck, and its joint is located approximately in the middle. The neck does not lie in the palm of your hand, but, as it were, hangs on the support of the fingers (they “envelop” it). The thumb plays the role of a reliable support, but do not put too much pressure on it – this can lead to discomfort. If you want to play a passage more loudly and clearly, then it makes sense to press down a little.
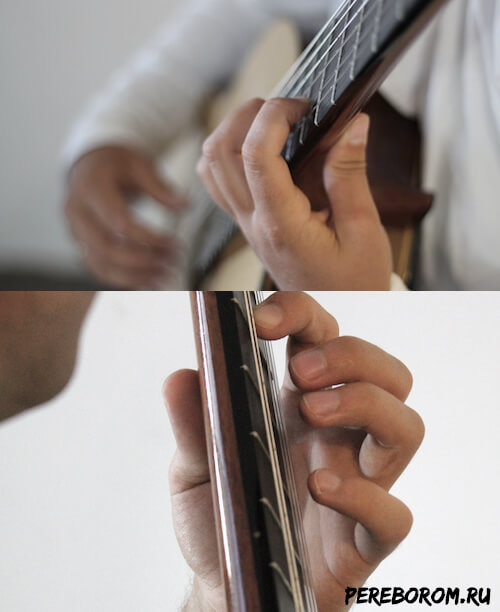
bluesy
How to hold the left hand on the guitar in a blues grip. It is looser and involves the active use of the thumb. In this case, the guitar neck can be thought of as the “neck of a goose” that you want to strangle. Despite the rather strange analogy, it is most suitable for describing this movement. You boldly take the neck in the palm of your hand and hug it with all your fingers. At the same time, the big one is thrown with a small pillow over the upper edge, and the remaining fingers are located approximately up to the 5th string. This is necessary for the performance of numerous bands and vibrato – the brush will constantly move, and the left fingers take part in muting along with the right hand.
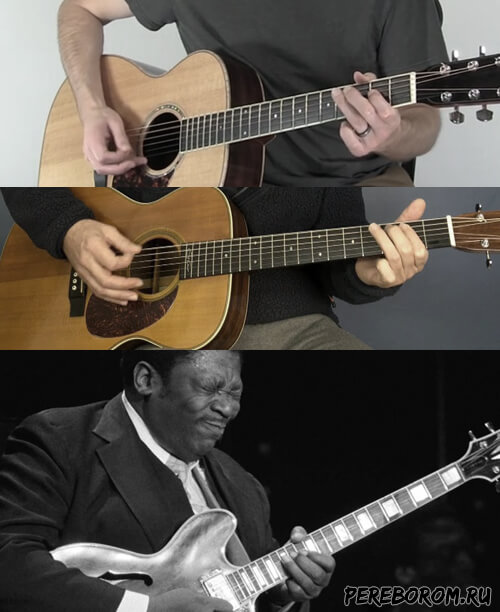
Setting for classical and acoustic guitar
When setting the fingers of the left hand on the guitar, the “classics” require the student to be “round”. To do this, imagine that you want to take a tennis ball. The support goes to the thumb, which, with the joint of the first phalanx, rests behind the neck. The finger may be slightly bent, but it must not be bent too much. If you look at the palm, then between the thumb and forefinger you get an oval “hole” – you should put the neck in it, and then the fingers will stand up naturally. At the same time, the forearm is about 30 degrees relative to the neck, the shoulder is relaxed and does not rise.
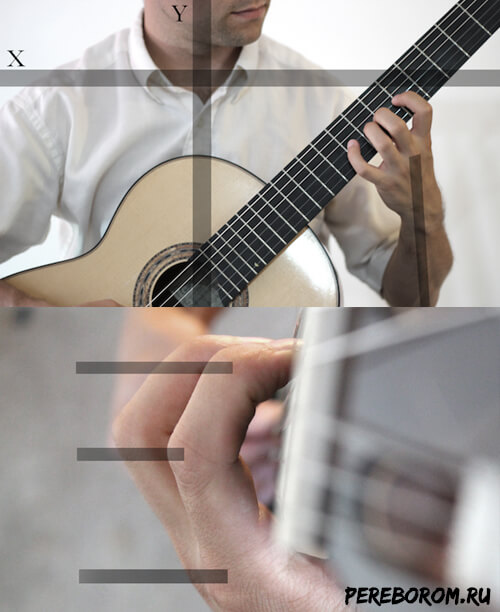
Setting for electric guitar
Most often, when playing the electric guitar, a blues grip is used. This is due to the performance of numerous bends, vibrato. Another nuance is that the fingers do not stand perpendicular to the neck (as in the classic grip), but turn at an angle of about 30-40 degrees with the joint to the side. At the same time, the index finger actively participates in muffling – it supports the overlying string and the underlying one (for example, when playing the chord E5 (0-2-2-XXX), the 4th and 5th strings on the second fret are clamped with pads, and 1-3 are muted by the rest. When this open sixth is propped up a little.
In electric guitar the classical setting is also used. It is necessary for playing fast passages that are difficult to play in the blues.
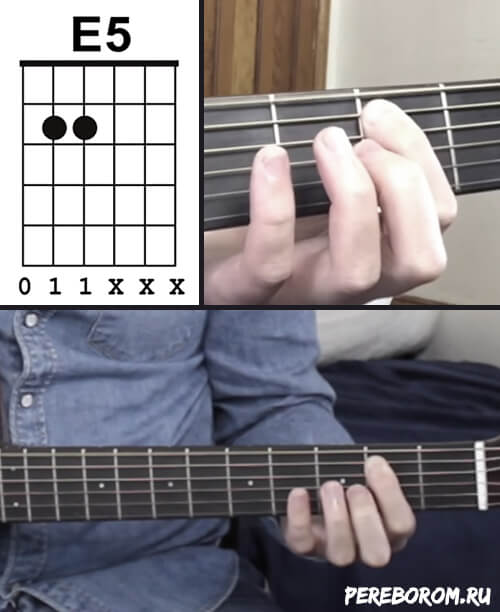
Setting for bass guitar
How to hold a guitar correctly if it is a bass.
- Each finger is above its own fret (taking into account the fact that the width of the frets on the fretboard varies). The fingers also stand in a semicircle (spring effect);
- We press the string with the part of the pad close to the nail (and not the main “thick”). This is required to perform slide, vibrato, bend, etc. techniques. ;
- The first phalanges are bent perpendicular to the neck;
- The thumb is located opposite the middle between the index and middle. Its setting behind the fretboard corresponds to the classical guitar.
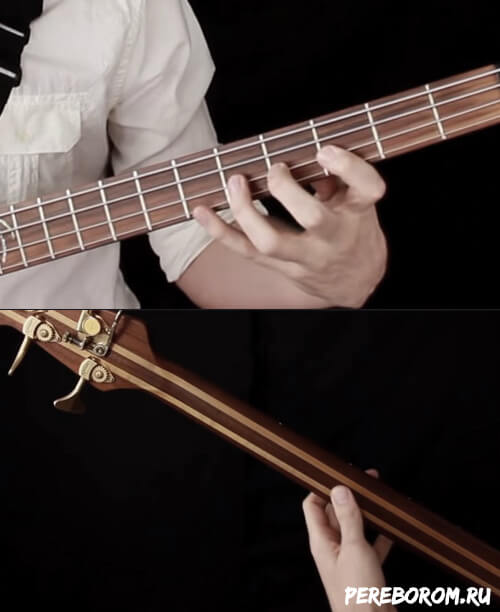
Playing techniques with the left hand
Hammer-on

Pull-off

Alternative way to take the barre (through the blues grip)

Conclusion
These descriptions are general. The main thing is to practice more often and, from your own experience, understand what positions should be taken so that the hand feels comfortable. Also perform pieces of different nature to alternate grips and staging. Only stuffing calluses on fingers from guitar you can find errors and try to fix them.


