Connecting a studio condenser microphone
We have two options in which we can connect studio condenser microphones. The first option is to connect directly to a computer via a USB connector. The matter in this case is very simple. You have a usb cable, the same as for example for a printer, where you connect it to the computer on one side and to the microphone on the other side. In this case, usually the computer automatically downloads the drivers and install them, so that our new device can work immediately. In addition, we can connect headphones to the computer to have direct listening from this microphone.
The second type of condenser microphones are those that do not have built-in interfaces and are not plugged directly into the computer, only through an external audio interface, which is such a link between the computer and the microphone. An audio interface is a device that translates an analog signal, e.g. from a microphone into a digital signal, which enters the computer and vice versa, i.e. it converts the digital signal from the computer into analog and outputs it through the loudspeakers. So this type of connection is already more complicated and requires more hardware.

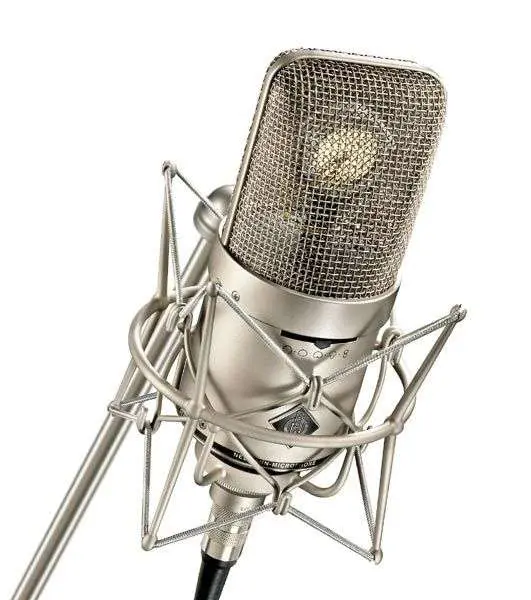
Traditional condenser microphones require additional phantom power, i.e. Phantom + 48V, and an XLR cable with male and female plugs. You can also use XLR to mini-jack adapters, but not all condenser microphones will work when connected to the mini-jack port, e.g. in a computer. We will connect those condenser microphones with battery power inside using such an adapter, while all those that do not have such a possibility, unfortunately, will not be connected. Simply put, condenser microphones need more power than is the case with, for example, dynamic microphones.
Most condenser microphones do not have the option of battery power, and in this case you need an additional device that will provide it with such power and additionally process this sound from the microphone, sending it further, for example to a computer. Such devices are the already mentioned audio interface, an audio mixer with phantom power or a microphone preamplifier with this power supply.
In my opinion, it is best to equip yourself with a phantom powered audio interface that connects via the usb connector to our computer. Basic audio interfaces usually have two XLR microphone inputs, a Phantom + 48V power switch that we activate in the case of condenser microphones, and turn it off when using, for example, a dynamic microphone, and an output-input that connects the interface with the computer. Additionally, they are equipped with some potentiometers for volume control and a headphone output. Often also audio interfaces have a traditional output, a midi input. After connecting a microphone to such an audio interface, the sound in analog form is processed in this interface and forwarded in digital form to our computer via the USB port.
The second way to connect a condenser microphone is to use a phantom powered mic preamp that is powered by an AC adapter. In the case of the audio interface, we do not need such a power supply, because the interface uses computer power. It is a more budget solution, as the prices of audio interfaces start from about PLN 400 and up, while the preamplifier can be bought for about PLN 200. However, we need to know that this audio will not be as good quality as if it was transmitted via the audio interface. Therefore, it is better to decide to buy an audio interface or equip it with a condenser microphone, which has such an interface inside, and we will be able to connect the microphone directly to the computer.
A third way to connect a condenser microphone to a computer is to use an audio mixer that will have phantom powered microphone inputs. And just like in the case of the preamplifier, the mixer is mains powered. We connect the microphone to it using the XLR input, turn on the Phantom + 48V and through the output output to which we plug in the standard cinches, we transmit the signal to our computer by connecting the mini-jack.
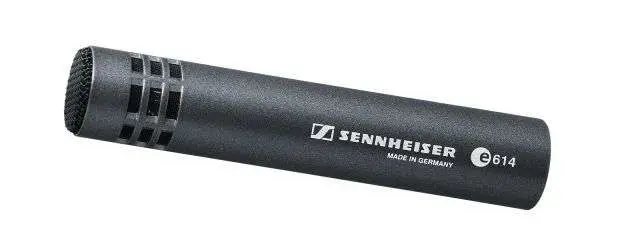
In summary, there are two types of studio condenser microphones. The first of them are the USB ones that can be directly connected to the computer and if our budget is not too large and we cannot afford to buy an additional device, e.g. an audio interface with phantom power, then it is worth investing in such a microphone, which already has this interface built in. The second type of microphones are those connected via the XLR connector and if you already have a phantom powered audio interface or are going to buy one, it is not worth investing in a microphone with a USB connector. Thanks to the microphone connected via the XLR connector, you can get even better quality of your recordings, because these microphones are in most cases much better. In addition, this solution is not only better quality audio interface and condenser microphone with XLR connector, but also gives more options and is more convenient to use. Depending on the interface model, you can have different options to control the signal at the output, and such a basic potentiometer is, for example, its volume, which you have at hand.


