Learning to play the keyboard – part 1
Introduction to the world of the keyboard
The keyboard, due to its capabilities, multifunctionality and mobility, is one of the most frequently chosen musical instruments. It also belongs to the group of instruments that we can easily learn to play on our own.
A standard keyboard usually has five octaves, but of course we can meet keyboards with a different number of octaves, e.g. four octaves or six octaves. Of course, the keyboard is a digital instrument, which, depending on its technological advancement, has on board the appropriate number of sounds, styles and other possibilities that we can use, among others, to arrange songs. Of course, in this series of tutorials, we will not focus on the possibilities of keyboards, but we will focus on the typically educational aspect, which will help us quickly learn the basics of playing the keyboard.
First contact with the instrument
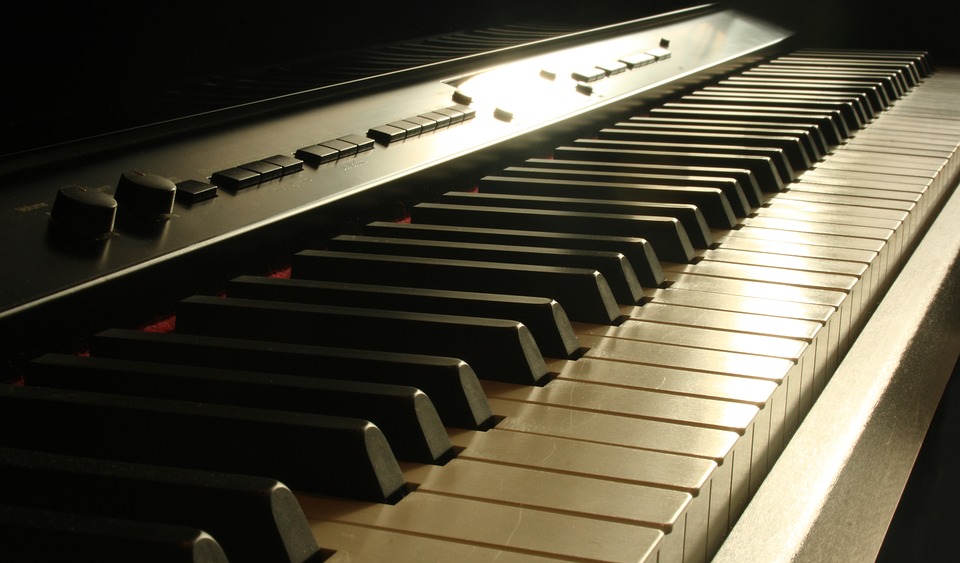
The keyboard keyboard is visually almost identical to the one we can find in a piano or a piano. The arrangement of the white and black keys is the same, while the number of octaves in the keyboard is much smaller. The second important difference is the keyboard mechanism itself, which is completely different than in acoustic instruments.
At the beginning, first of all, we need to get used to the keyboard itself and the work of its mechanism. See how it behaves under your fingers, but remember to properly adjust the height of the tripod with the instrument on which the instrument rests. This is very important for our comfort of exercise, so adjust the height so that your elbows are approximately at the height of the keyboard.
Keyboard layout – how to find C sound on the keyboard
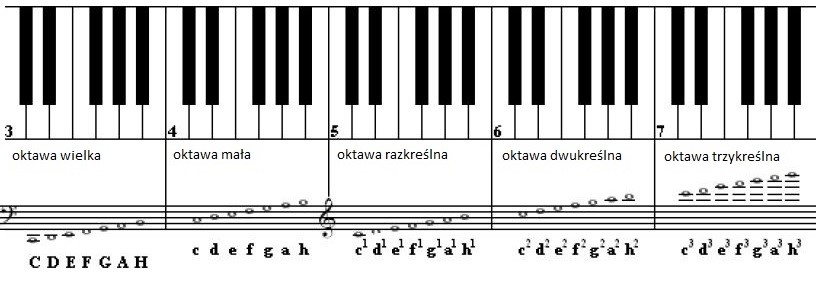
At the beginning I propose to find the C note of the singular octave on the keyboard. Each octave, just like in the piano, also in the keyboard has its own name. In the five-octave keyboard we have at our disposal, starting with the lowest tones: • a major octave • a minor octave • a single octave • a double octave • a three-character octave
The single octave will be more or less in the center of our instrument. Of course, due to the fact that the keyboard belongs to digital instruments, it is possible to shift the octave height, either up or down. When you look at the keyboard layout, you will notice that the black keys are arranged in the following arrangement: two black space, three black, and again two black space, three black. The note C is in front of each pair of two black keys.
Keyboard methodology
When playing the keyboard, the fingers of both the right and left hands should be equally functional. Of course, at first we will feel that one of the hands (usually the right hand) is more efficient in terms of accuracy. This is due to the fact that it is simply more often used for more precise classes, such as, for example, writing. Our exercises should ensure that our fingers on both hands move equally efficiently on the keyboard.
The keyboard of the keyboard can be divided into two parts. With the right hand, we usually play the main theme of the piece, i.e. we use the melodious technique, while the left hand usually plays chords, thus creating a kind of background and accompaniment for what the right hand does. Thanks to this division, both hands complement each other perfectly. The right hand plays the higher tones, that is, it implements all the leading motifs of the first voice, while the left hand plays the lower tones, thanks to which it can perfectly realize the bass part.
The first hand and finger positions on the keyboard
We arrange our hand in such a way that only our fingertips have contact with the keyboard. It is they who attack individual keys by attacking them from above. At the beginning, we place our fingers on the keys of the singular octave, i.e. the one in the middle of our instrument. Starting from the note C with the first finger (thumb), then the second finger is placed on the adjacent key assigned to the sound D, the third finger on the next note E, the fourth finger on the note F and the fifth finger on the note G. Now we play each note in turn, starting with the finger first to fifth finger back and forth.
Try to do a similar exercise with your left hand only within the minor octave. Here we place the fifth finger (the smallest finger) on the key assigned to the sound C. Place the fourth finger on the next key assigned to the D sound, the next third finger on the E key, the second finger on the F key and the first finger on the G key. C to G, which is from the fifth finger to the first and back again.
Summation
In the beginning, don’t expect too much of yourself at once. First of all, get used to the keyboard and its mechanism. The fingers must move freely on the keyboard. The strongest, which results from the structure of the hand, will be the first finger (thumb) and the second (index) finger. The smaller the finger, the more work it will have to put in to match the efficiency and strength, the greater. It is also good to start acquiring the knowledge of the notes on the staff from the very beginning. Knowing the notes greatly improves and speeds up the process of music education. In the next part of our guide, we will discuss the first exercises and the position of the notes on the staff as well as the rhythmic values.