
How to change the strings on a guitar? Instructions for replacing and installing new strings.
Contents

How to change strings. Introductory information
Changing strings On guitar is an important and necessary procedure that every guitarist should learn. Sooner or later in his practice there comes a moment when the string breaks, or ceases to sound due to excessive contamination. This is exactly the signal to install a new kit. The process is quite simple in itself, but it will take time to learn it perfectly. The most important thing is to do everything carefully and not to rush.
First of all, it is worth remembering a few simple rules that do not even relate to the process itself, but to the general care of the instrument. So:
- Most importantly, always change strings in sets. The fact is that they are selected specifically for tension – it is balanced, and the entire thickness evenly pulls the neck. If one string breaks on your guitar, and you install not the entire set on it, but only the missing one, then the force ceases to be uniform, and because of this, for example, it may start rattle 6 string.
- Don’t stretch the strings initially, and only start tuning when all six are in place and slightly tightened. This will avoid situations where a new set is torn due to the fact that something was overtightened.
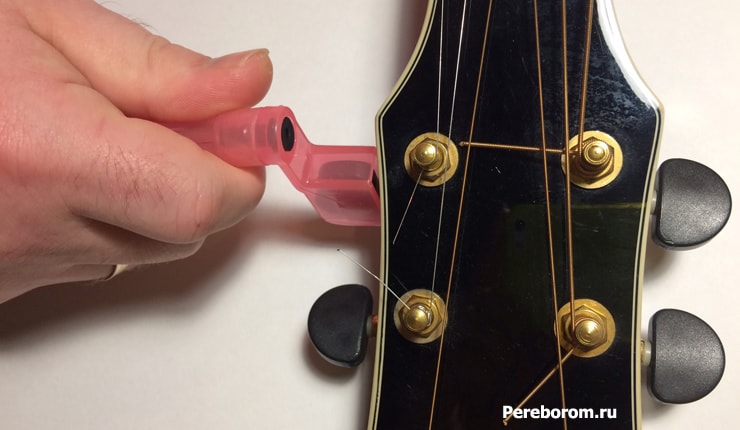
- For a more convenient process of removing the strings, purchase a special tuning machine rotator. It is sold in any music store for a small price. This will greatly simplify and speed up your actions.
How to remove strings from an acoustic guitar
The first and obvious step in replacing strings is to remove the old ones. This is done in a few very simple steps.
Loosen the old strings
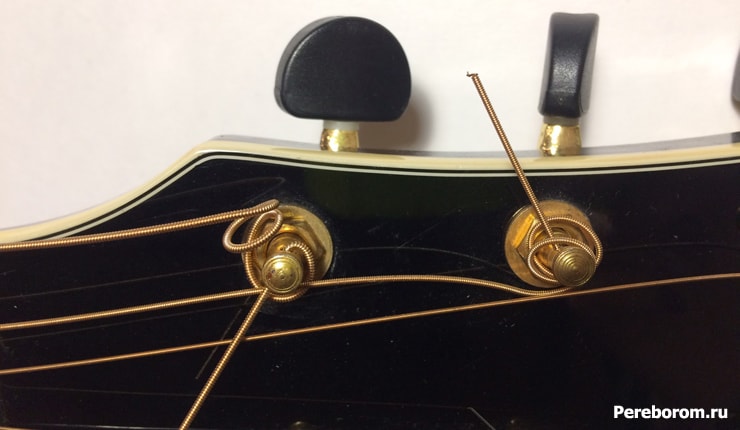
Pull the string and start spinning the peg. If its sound rises higher, it means that it is stretched, and you should not rotate the fittings further. If it drops, then everything is correct – continue to rotate in this direction until the rings wound on the peg are loosened to such an extent that the string will simply hang out and it can be pulled out of the hole in the fittings. Do the same for each of the strings.
Remove pegs
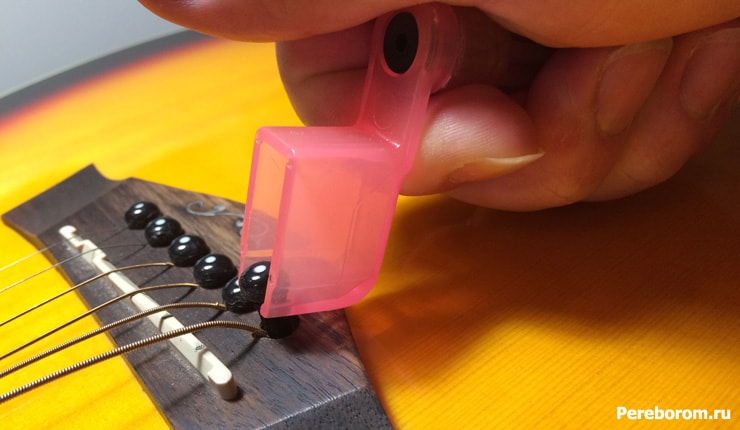
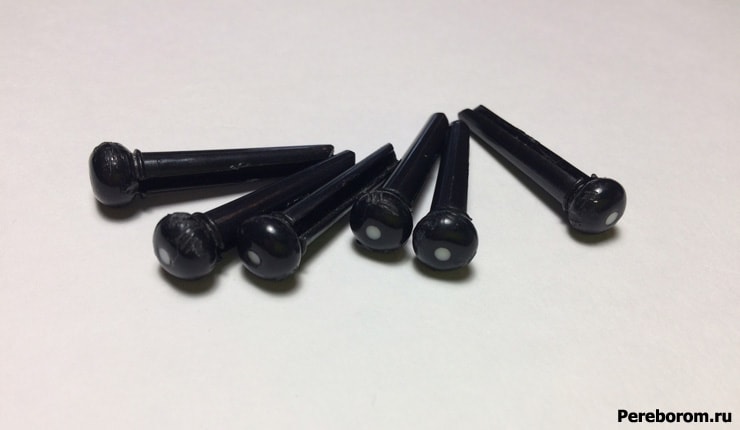
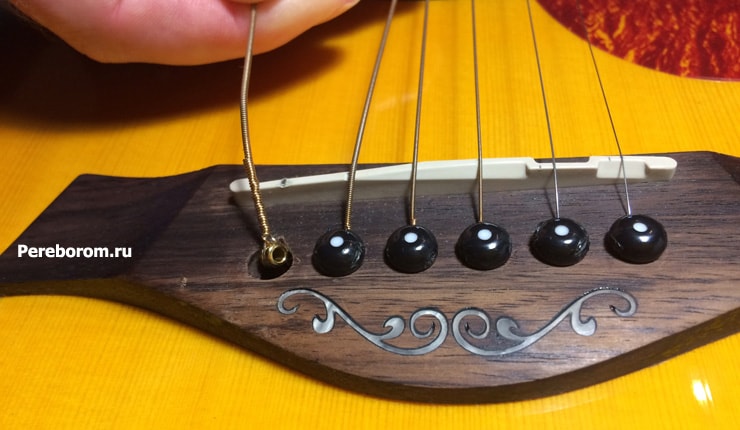
The next step is to pull out the pegs that hold the strings underneath. A flat object can help you with this – for example, a strong ruler, or even an ordinary spoon. In addition, there is a special tool for this process. Do not try to pick them up with pliers – with a high probability the peg will break into two halves. Just grab it from below and use the lever to pull it out. This should be done only after the strings are as loose as possible – so be careful. After all the pegs have been removed, stack them in one place, and proceed to the next step.

Removing old strings
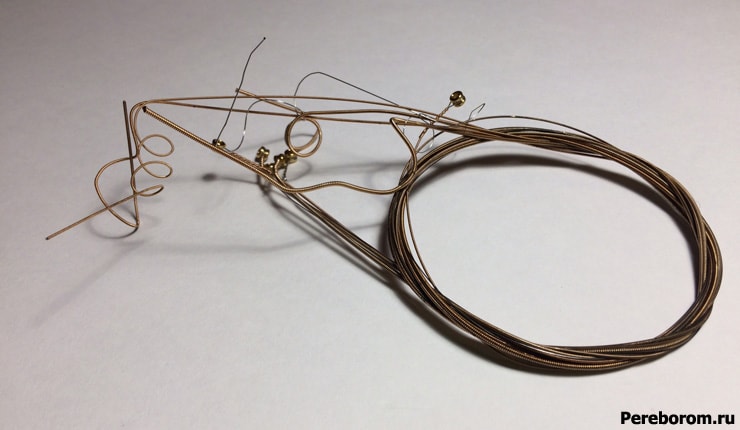
Just pull the old strings out of the holes in the hardware and also out of the peg holes. Roll them up and put them aside – you can save them as a spare set just in case, or you can throw them in the trash.
Wipe down the guitar
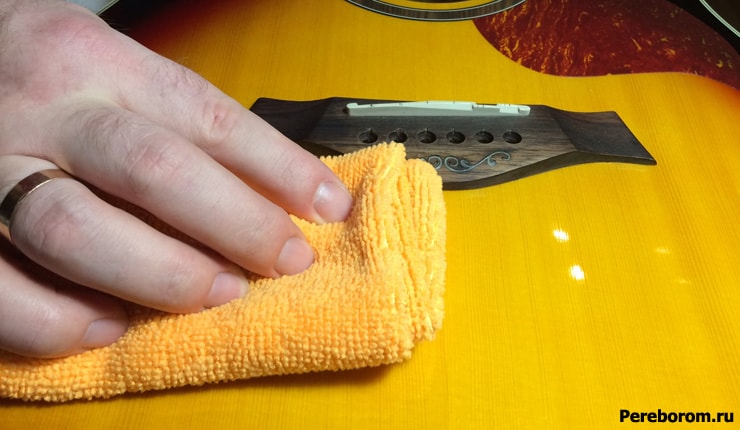
After that, put the guitar in order – wipe it with a dry cloth. Remove any dirt on the fretboard. Also check his tension – is everything in order with him, remember if he did not get along before. If something like this happened, then it is at this stage that it happens guitar neck adjustment by rotating the anchor. In general, just clean the instrument of dirt a little, and after that you can proceed directly to changing the strings.
Installing strings on an acoustic guitar
Unpacking the new kit
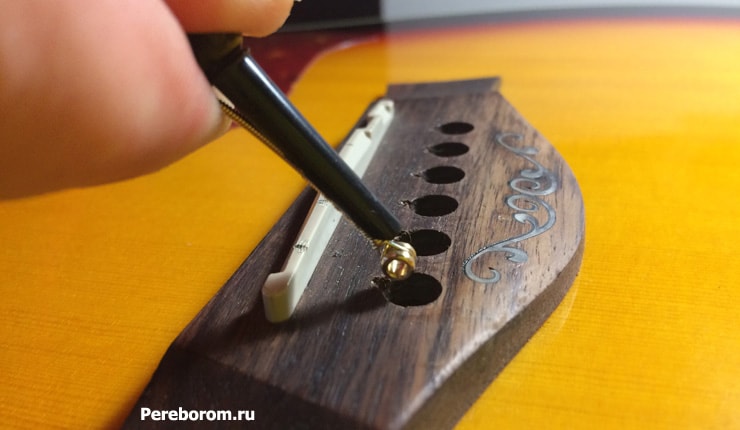
Remove the new kit from all packaging. Usually the manufacturer packs the strings according to their serial numbers, or, as, for example, D’Addario do, they paint the balls at the base of the string with their own colors, making the designations on the package itself. The strings are coiled – unfold them and straighten them. After that, place them in the holes of the pegs – the end with a small ring attached to the string should go there. After that, fasten the pegs until they stop. Just put the end without a ball on the headstock, to those pegs on which the winding should take place.

Winding strings. We start with the sixth
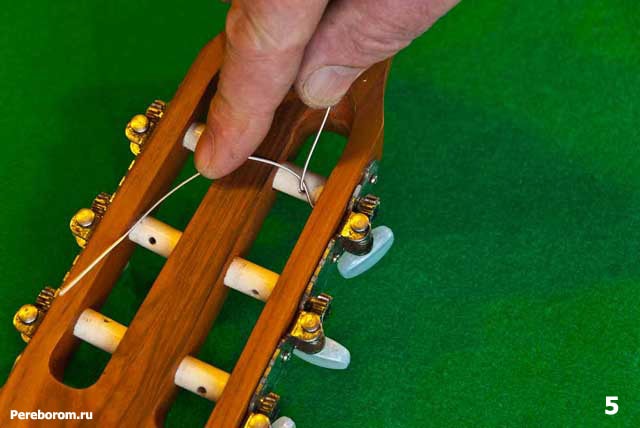
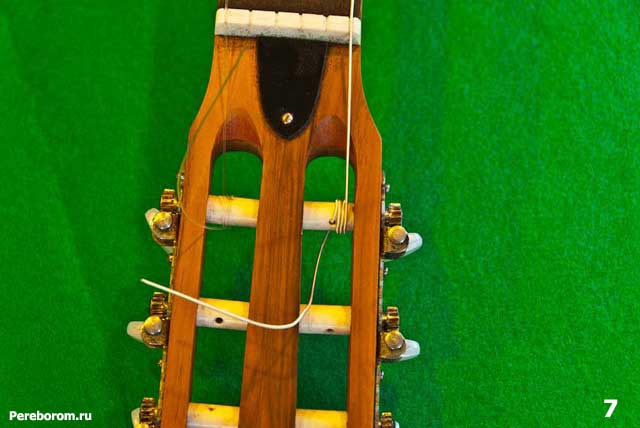
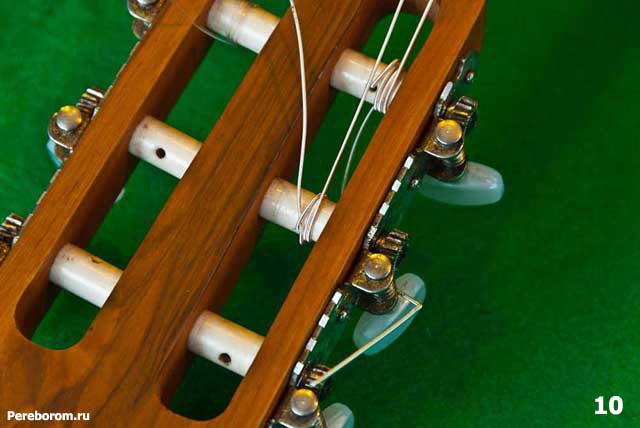
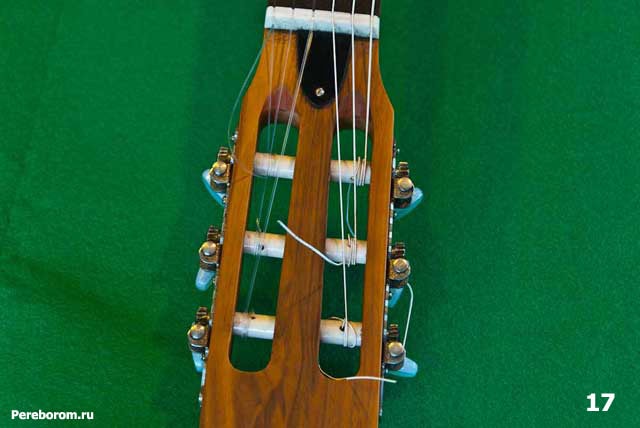
So, you can start changing the strings. Thread each of them through the hole in your peg. Start with the sixth. So, next, take the main part of the string and wrap it around the axis of the peg so that its tip is under the coil. After that, already make a couple of movements with the fittings themselves – so that the tip is fixed between the turns. You don’t have to do this – the string will hold out quite well without a “knot”, but this way you minimize the chance that it will fly out during playing. Tighten the string, holding it a little with your hand, but not completely – it should just be fixed in the nut and peg.
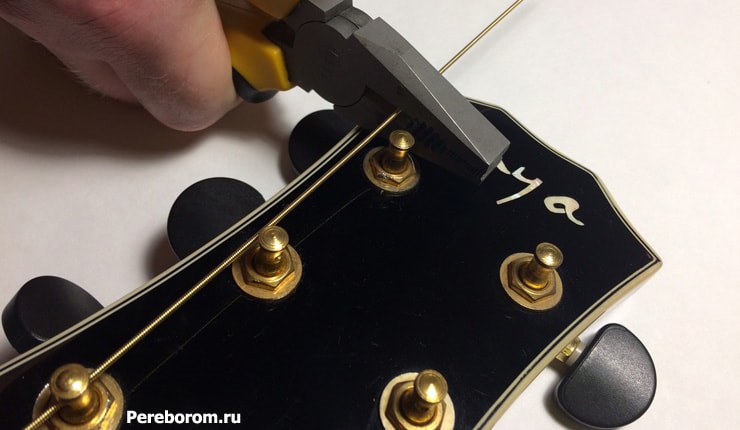
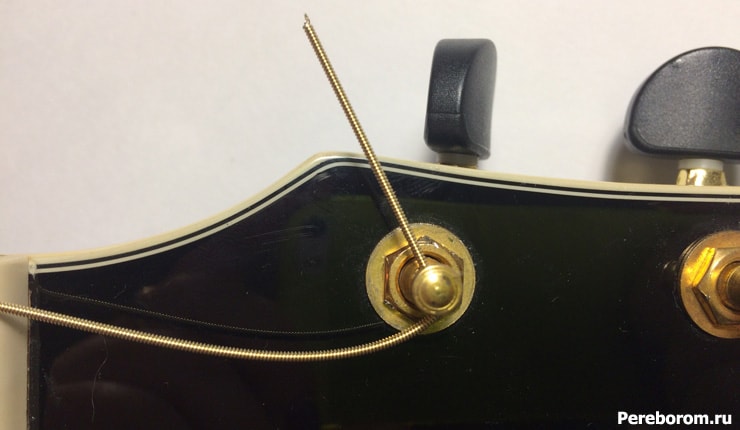
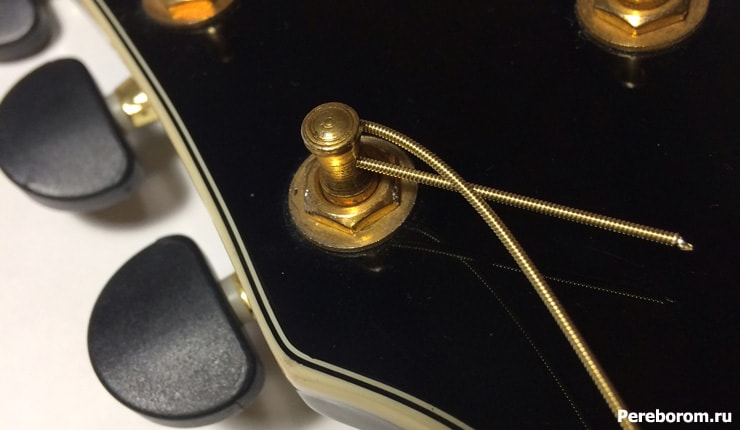
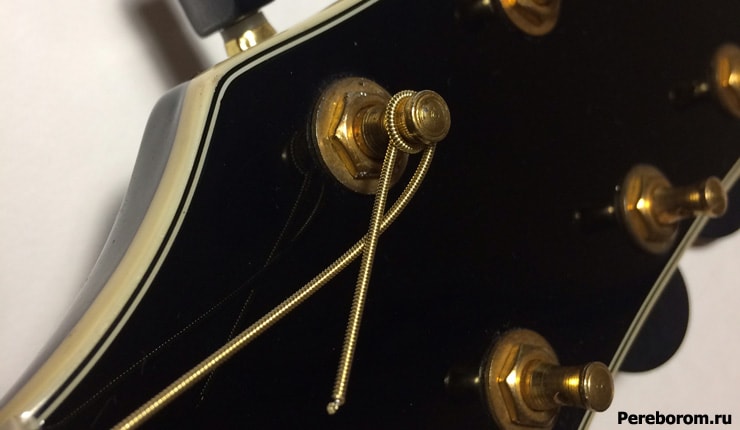

After that, repeat the same manipulations with the rest of the strings. In the case of the sixth, fifth and fourth strings, turn the peg clockwise, and vice versa, with the other three. In general, this is intuitive. Please note that if you did not pull the strings until the hammers hit the pegs, then this can happen without you, very abruptly, with a characteristic sound. Do not be alarmed – this is also normal, but it is better to pre-pull the kit all the way into the bottom mount.
We cut off the excess
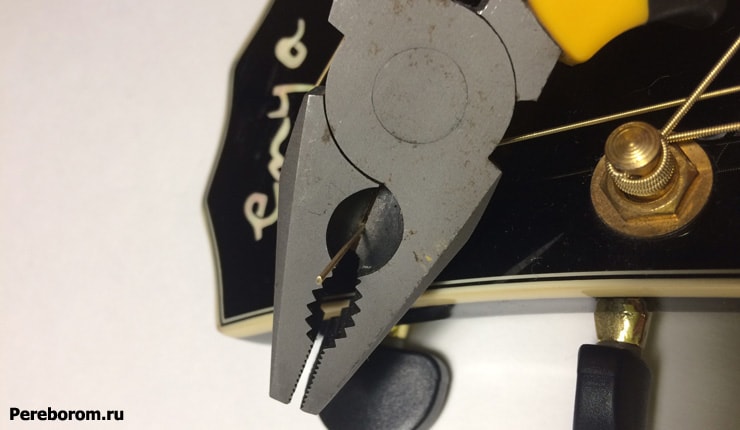
After, how to string strings when you’re done, cut off the tips sticking out of the pins with tongs. This is done specifically so that they do not interfere with playing and tuning the instrument later.
Guitar tuning after installation
After the strings are conditionally stretched, proceed to six-string guitar tuning.This will take a little longer as the strings will stretch in the process, but the tuner will help with that. Adjust only on it – in this case, hearing will not help. If you don’t have it at hand, you can download the application for guitar settings for android or iOS.
In general,, then put the instrument down and let the strings settle on it. You may need to tune the instrument a couple more times, plus they will quickly get upset at first. However, after a while everything will fall into place, and the new set will sound with overtones and ringing.
How to change strings on a classical guitar
This process, in general, is not much different from the same on an acoustic guitar, but there are some nuances.
Take off the old strings
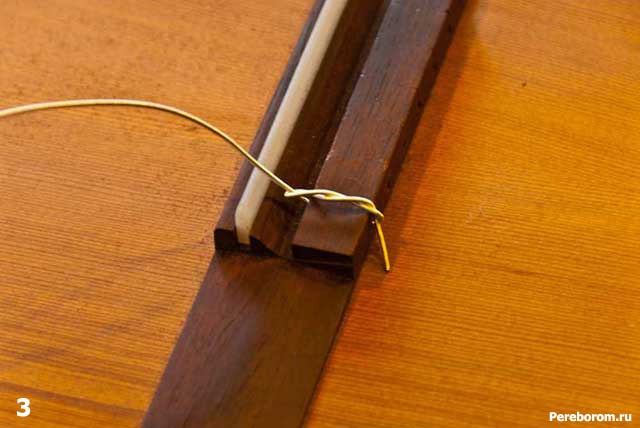
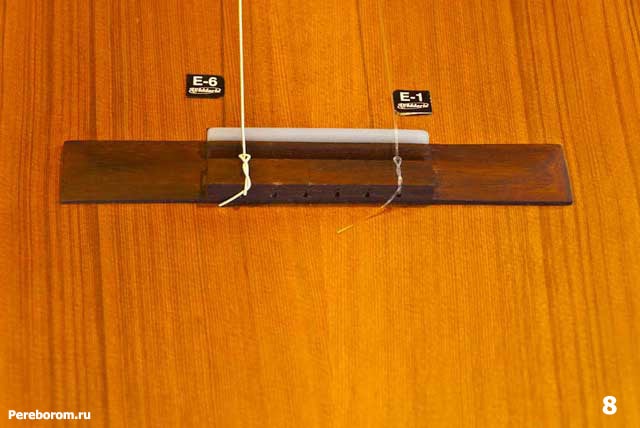
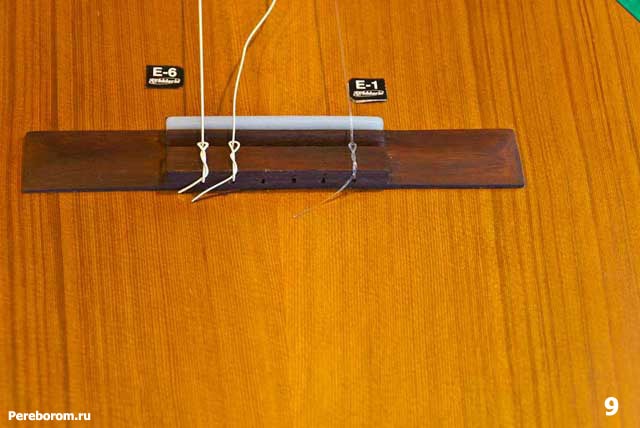
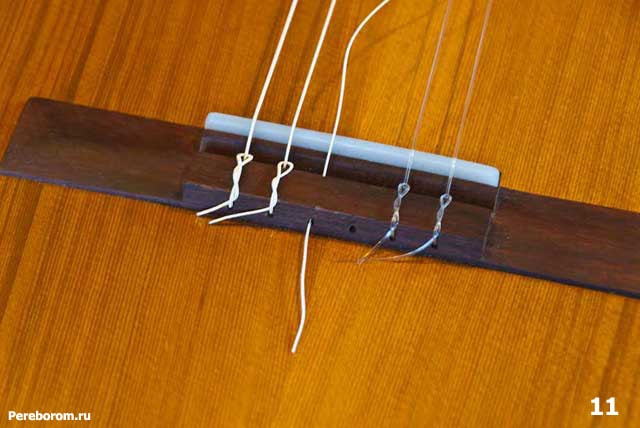
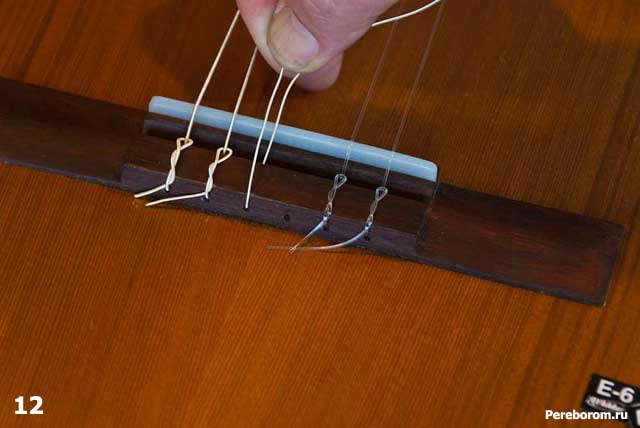
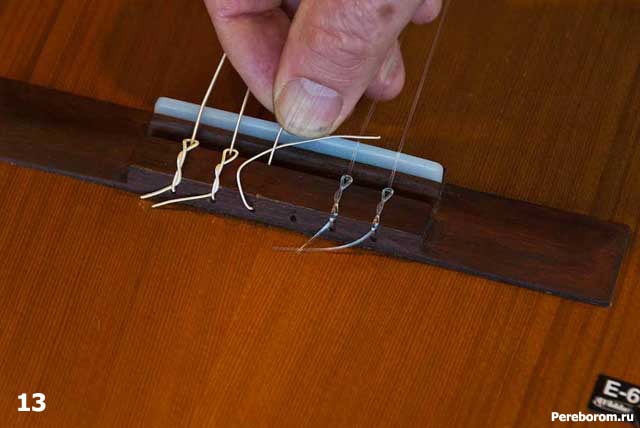
This works exactly the same as on an acoustic guitar – just loosen them on the pegs and pull them out through the bottom bridge. Please note that there are no pegs in this case – everything rests on small knots formed at one of the ends of the string. Also, the strings can be dismantled by simply cutting them with wire cutters. After that, also wipe down the guitar, and check its truss. If you found out how to choose a good guitar, and did just that – then in general there should be no problems with it.

Installing new strings
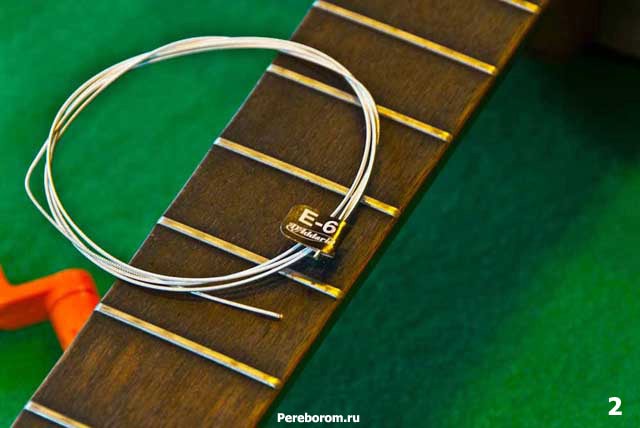
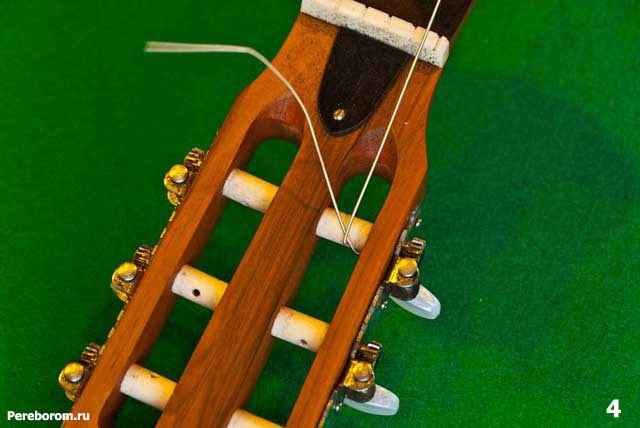
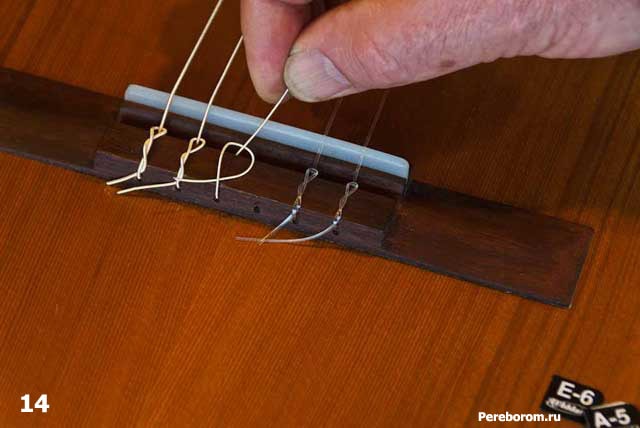
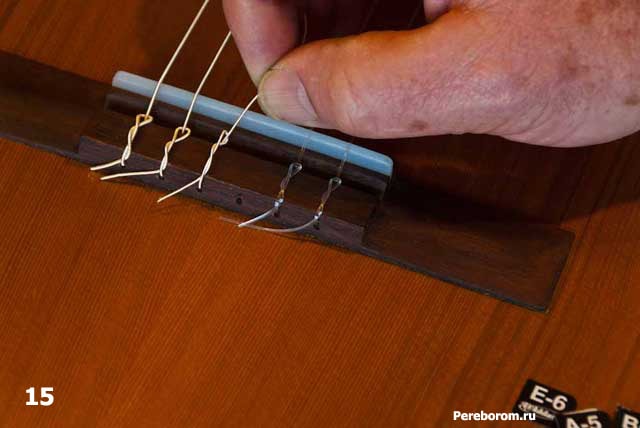
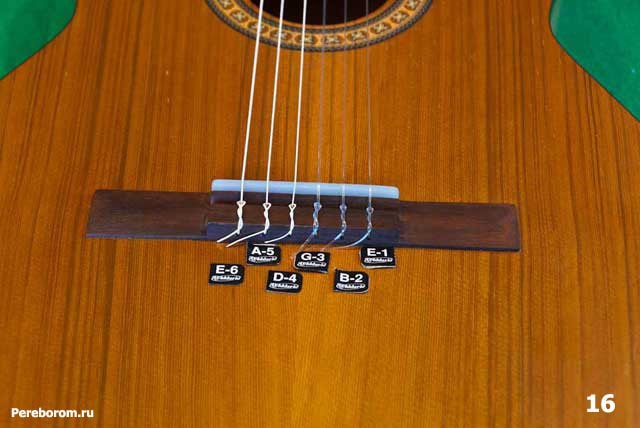
In general, everything happens exactly the same as in the case of an acoustic guitar. The only caveat is to fasten the strings from below – for this you need to form a knot, and thread the rest of the string into it after it is in the hole at the bottom of the bridge. Understanding how to do this is very simple – just look at how it was originally fixed.

Checklist for changing and installing new strings
- Loosen old strings with tuning pegs;
- Pull out the pegs;
- Remove old strings;
- Check the guitar – the condition of the neck and body, tighten the anchor;
- Wipe down the guitar;
- Place the end of the string with the hammer into the holes of the pegs, put them back, pull the string until the ball stops in the pegs;
- Stretch the strings;
- Tune your guitar.
Tips for beginners
The most important advice – take your time and do everything carefully and slowly. Also, after installation and tuning, let the guitar rest a little – the wood should take the form of string tension, the neck should fall into place. Do not overtighten the strings, but it is best to tighten them just a little before tuning. This is necessary so that the new set does not burst ahead of time.


