
How to make tulips from paper: master class
 When a child makes an appliqué out of paper or crafts something, he develops not only perseverance, but also the ability to see and understand beauty. He rejoices when he produces a beautiful painting or craft!
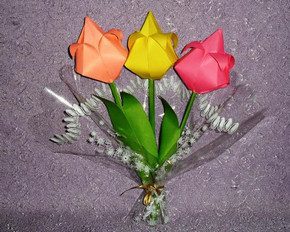
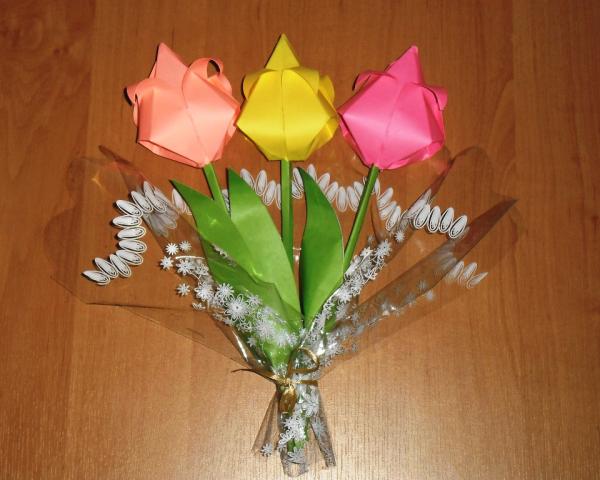
And how a mother’s eyes will glow with happiness when her baby one day presents her with a beautiful bouquet of unusual tulips! Today we will learn how to make tulips from colored paper, our photo tips with comments will help you with this. Happy creativity! In order to make such a bouquet (as in the top picture), you will need:
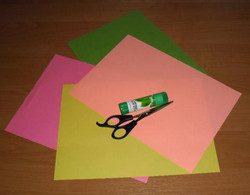
Here’s what you’ll need
- landscape-size color double-sided paper;
- green cardboard;
- glue;
- scissors;
- beautiful packaging cellophane and ribbon.
It is advisable to take colored paper of medium thickness. This one is easier to work with. Well? Shall we start?
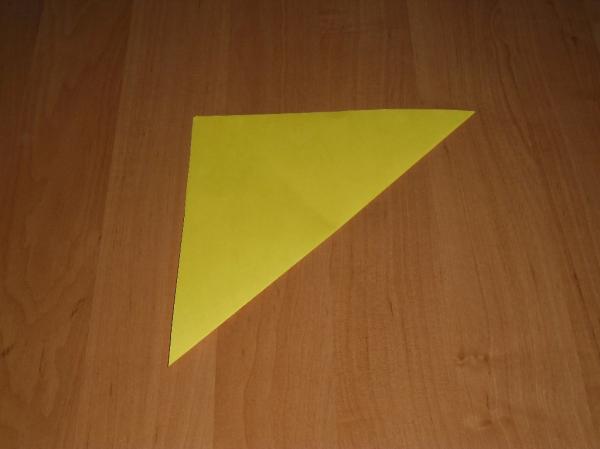
Step 1. Fold the sheet diagonally, aligning opposite edges.
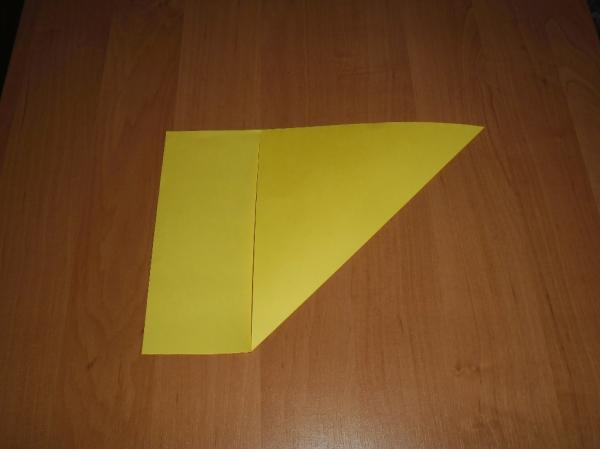
Step 2. Cut off the excess.
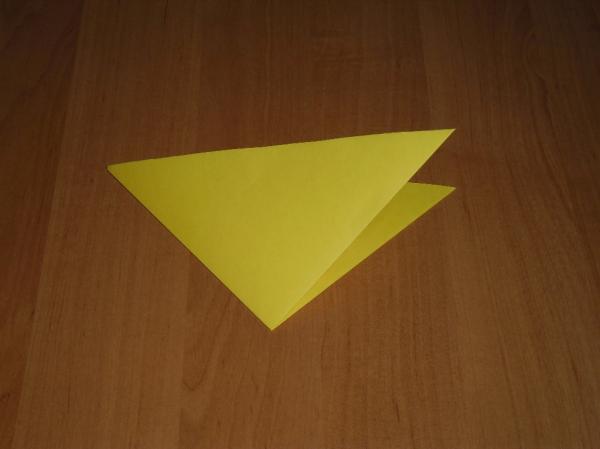
Step 3. Fold the workpiece in half again.
Step 4. Unfold the sheet and connect the adjacent corners so that the paper bends inward.
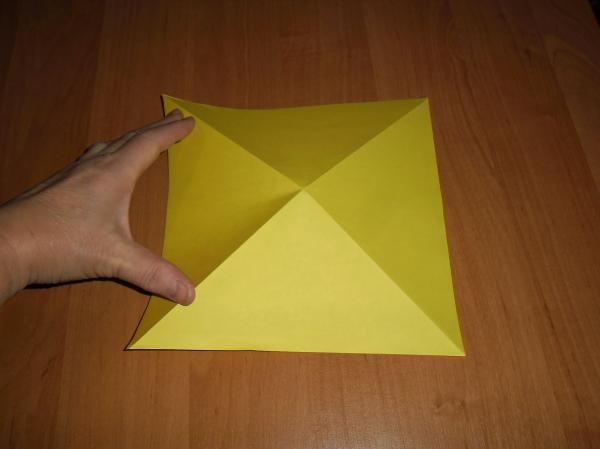
Step 5. Iron the folds.
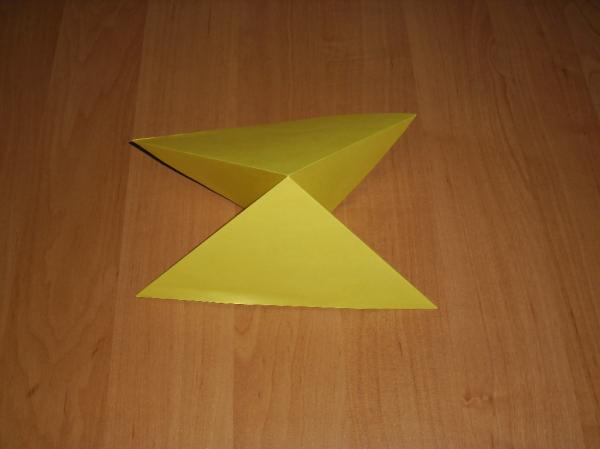
Step 6. Lift the free corners up to the center of the folded workpiece.
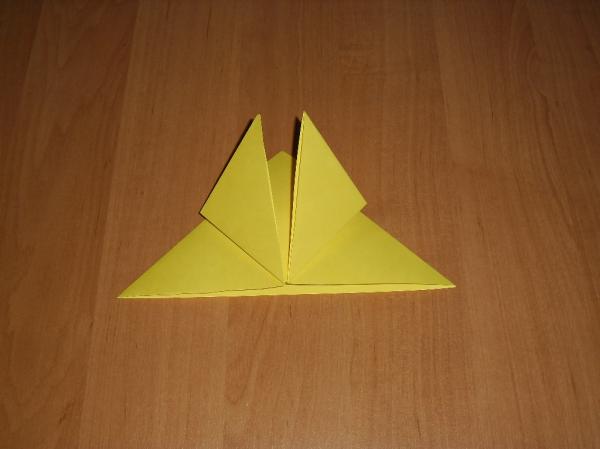
Step 7. Now turn it over to the other side and do the same.
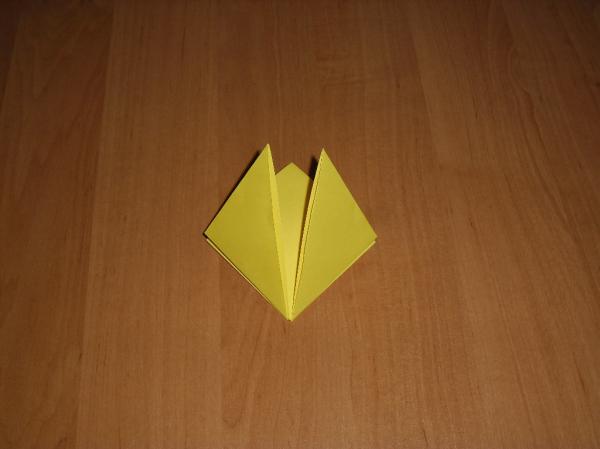
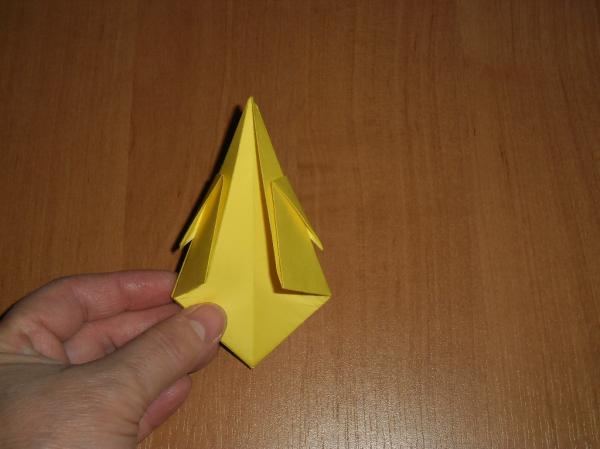
Step 8. Bend the corners down. These will be the petals.
Step 9. Fold the workpiece so that all the corners are inside.
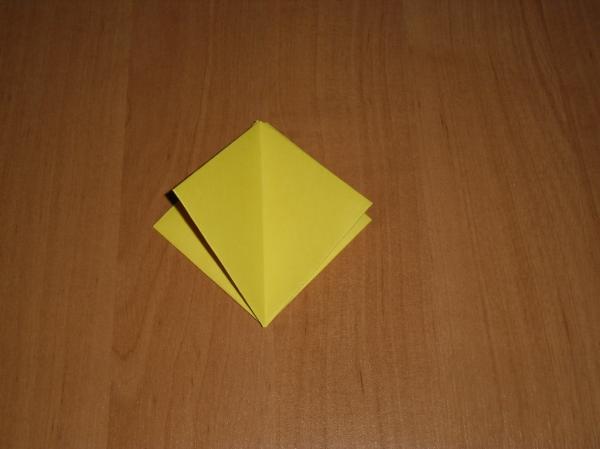
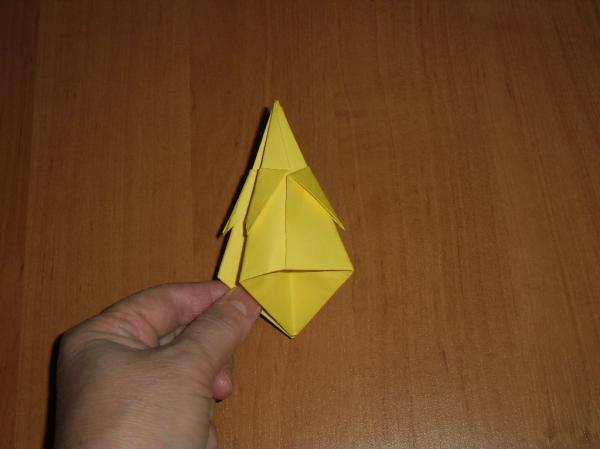
Step 10. Fold the side edges of the future flower towards the middle.
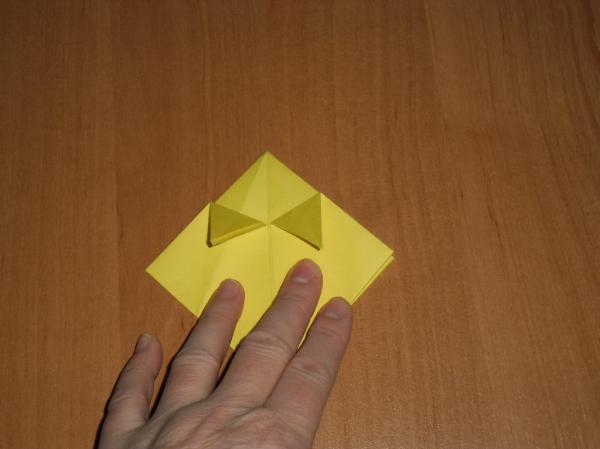
Step 11. Insert one corner into the other until it stops. It is advisable to lubricate it with glue before this so that it does not come out.
Step 12. You have a flat flower. There is a small hole at the bottom of the tulip.
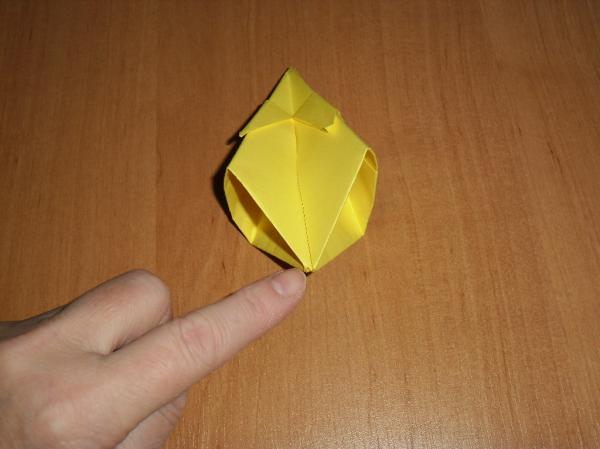
Step 13. Take the edges of the flower and gently inflate it like a balloon. Now the flower has become voluminous.
Step 14. Using the same principle, make two more tulips (more are possible).
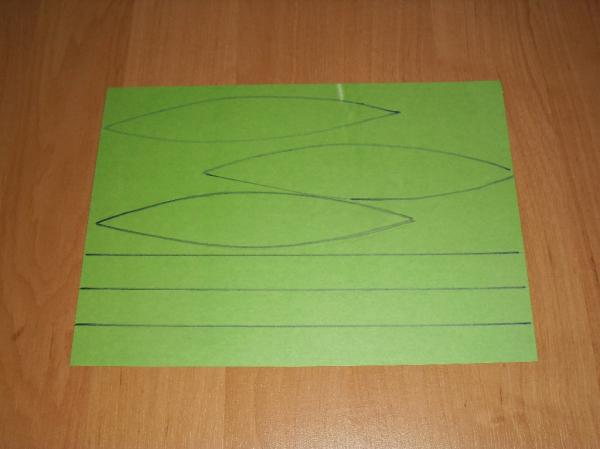
Step 15. Take green cardboard. Draw three stripes 2 cm wide. Draw three elongated leaves.
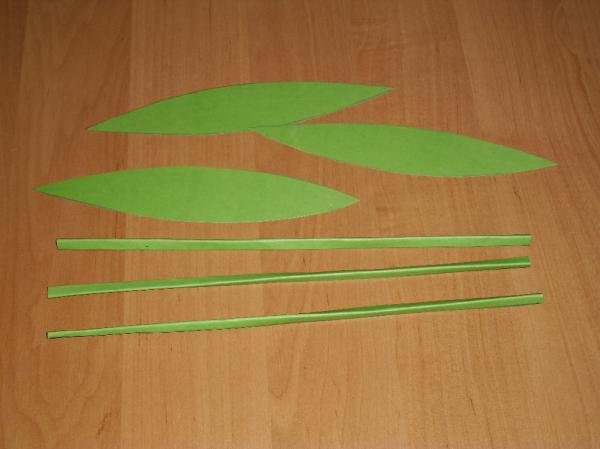
Step 16. Cut along the outline. If you have colored cardboard on only one side, then glue green paper to the other side so that the leaves of the tulips are completely green. Roll the strips into tubes and glue the edges together so they don’t unravel.
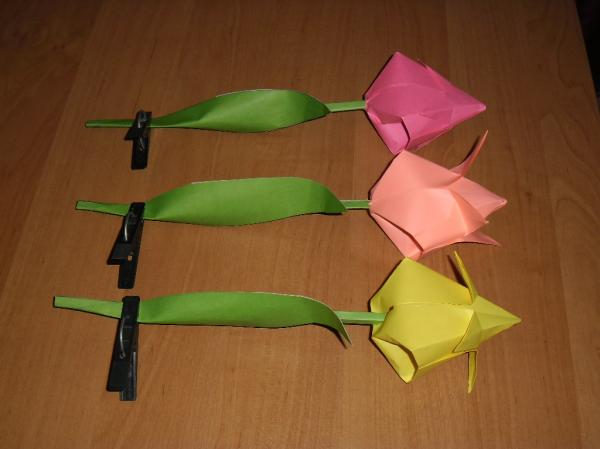
Step 17. Glue the leaves to the sticks, bend them a little, giving them any shape.
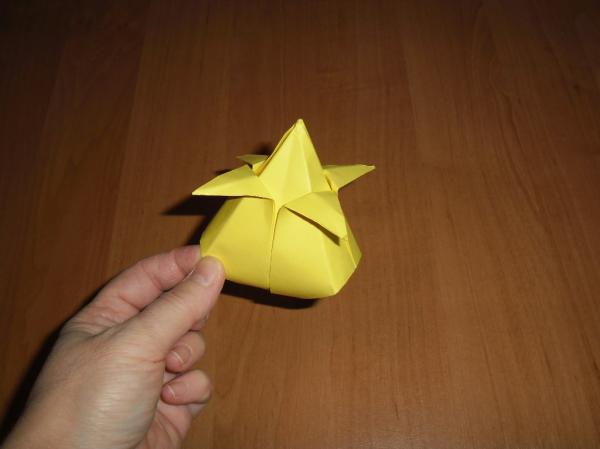
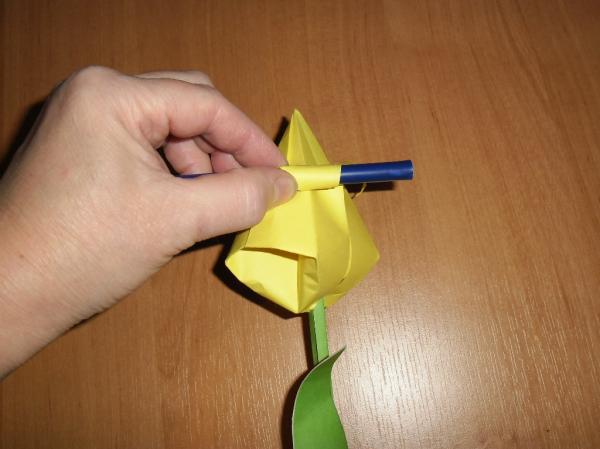
Step 18. Bend the edges of the petals slightly outward using a pencil.
Step 19. Pack the tulips in cellophane and tie the bottom with a ribbon. You have made a beautiful bouquet.
You May Also Like

How to overcome technical difficulties in playing the piano? Useful for students of music schools and colleges

Indian folklore – unique music of the soul